Learning how to caramelize onions properly at home completely changed my cooking. I used to crank the heat and stir aggressively while wondering why my onions tasted burnt instead of sweet. I was doing almost everything wrong. Real caramelization isn’t complicated. It just demands patience you probably don’t think you have. Once you nail it, you will put these golden jammy onions on everything from burgers to scrambled eggs. This is the exact method I rely on every single time.
Why Most People Mess Up Caramelized Onions
Most recipes lie about the timing. You have probably seen instructions to caramelize onions for ten minutes printed on a recipe card. That is sautéing. True caramelization takes 35 to 50 minutes on low heat. Sometimes longer depending on your stove. The natural sugars in the onion need time to do their work. Rushing the process gives you brown wilted onions that taste sharp and sometimes bitter.
I wasted years thinking my technique was flawed when the real problem was impatience. The moment I dropped the heat and committed to standing at the stove for nearly an hour, everything clicked. The onions went from pale and crunchy to deep amber and almost candy-sweet. You do not need special equipment or secret ingredients. You just need time.
Picking the Right Onion (It Matters More Than You Think)
Not all onions caramelize equally. Yellow onions are your best friend here. They have the right balance of sugar and sulfur compounds to break down beautifully and develop that rich sweetness you are after.
Red onions work in a pinch but they turn a muddy brown color that is not very appetizing. White onions have less sugar and stay sharper tasting even after long cooking. Sweet onions like Vidalias can work but they hold a lot of water and take even longer to cook down. I have tested all of them multiple times and basic yellow onions from the grocery store win every round. Save the fancy ones for salads.
The Gear You Actually Need
You do not need a $300 pan but you do need the right one. A heavy-bottomed skillet or Dutch oven is essential because it distributes heat evenly. Thin pans create hot spots that scorch the onions before they caramelize. I personally use a 12-inch Lodge cast iron skillet I bought for about $25. It has been my go-to for years.
A wide surface area matters too. You want the onions spread in a relatively even layer so moisture can escape. Piling them into a small saucepan means they steam instead of caramelize. You end up with mushy flavorless onions that never develop any color. A wooden spoon or silicone spatula for stirring is all you need beyond that. Keep it simple.
How to Caramelize Onions Properly at Home, Step by Step
This is the exact process I follow. It is solid technique that works on any stovetop.
Step 1: Slice Your Onions Evenly
Take three or four large yellow onions and cut them in half from root to tip. Peel them and slice into thin half-moons about an eighth of an inch thick. Consistency matters because uneven slices cook at different rates. You will end up with some pieces burnt while others are still raw. It looks like a mountain of onions but they cook down to about a quarter of the original volume.
Step 2: Heat Your Fat Low and Slow
Add about two tablespoons of butter and one tablespoon of olive oil to your skillet over medium-low heat. The butter adds flavor and the oil prevents it from burning. Once the butter melts and starts to foam, toss in all the onions. Stir to coat every piece in fat. Then drop the heat to low. This is where discipline starts.
Step 3: Cook and Stir With Purpose
For the first ten minutes the onions just soften and turn translucent. Nothing exciting happens yet and that is completely normal. Stir every four or five minutes to prevent sticking. Around the fifteen-minute mark you will notice the onions starting to shrink and release liquid. Let that liquid cook off before you worry about any browning.
Between twenty and thirty minutes the edges start turning golden. This is where most people panic and crank the heat. Do not do it. Stay on low. Stir every three or four minutes now. Scrape any brown bits off the bottom of the pan and mix them back into the onions. Those brown bits are pure flavor.
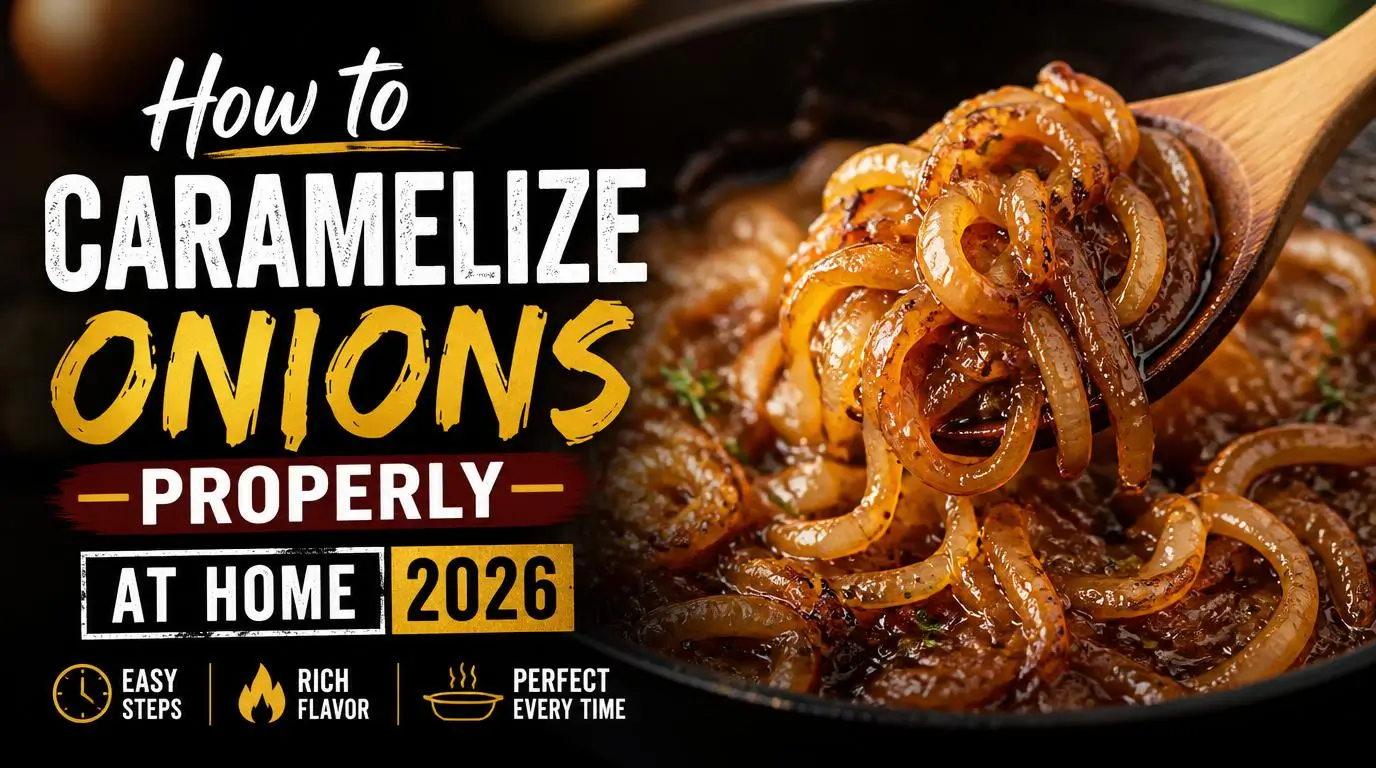
From thirty-five to fifty minutes the onions go from golden to deep amber. They will look shrunken and almost spreadable. When a spoonful tastes genuinely sweet with zero sharpness you are done. Season with a pinch of salt and take them off the heat.
The Deglaze Trick That Adds Depth
Around the thirty-minute mark the bottom of your pan might get dark and sticky. Add a splash of liquid to deglaze it. I use about a tablespoon of water. Balsamic vinegar or a little red wine works beautifully if you want extra complexity. Pour it in, scrape the bottom, and stir. All that concentrated flavor dissolves right back into the onions. I do this once or twice during the process and it makes a noticeable difference.
Common Mistakes That Ruin Everything
I have made every mistake on this list at least once. Some of them more times than I would like to admit.
Cranking the heat to speed things up is the number one killer. High heat creates charred spots that taste acrid and bitter. Your smoke alarm going off is a clear sign you have gone too far.
Adding salt too early draws out moisture faster. That sounds helpful but it actually makes the onions steam in their own liquid. A tiny pinch at the very end is all you need. Overcrowding the pan is another common trap. If you are making a huge batch use your widest pan or work in two batches. Crowded onions steam rather than caramelize. No amount of extra time fixes that soggy texture.
Stirring too often is surprisingly a problem too. The onions need uninterrupted contact with the hot pan surface to brown. Moving them around every thirty seconds resets the process each time. Find a rhythm of every three to five minutes and stick with it.
How to Store and Use Caramelized Onions
One batch lasts me an entire week in the fridge when stored in an airtight glass container. They also freeze incredibly well. I spread them flat in a freezer bag, squeeze out the air, and freeze them for up to three months. When I need some I just break off a chunk and toss it straight into whatever I am cooking.
The real question is what you cannot put them on. I pile them onto smash burgers and fold them into omelets. I spread them on flatbreads with goat cheese and spoon them over grilled steaks. My personal favorite is a piece of sourdough toast with ricotta, caramelized onions, and a little flaky salt. It sounds ridiculously simple but it tastes like something you would pay sixteen dollars for at a trendy brunch spot.
Making a big batch on a Sunday afternoon is one of the best meal prep moves I have picked up. Future you will be grateful.
The Shortcut Debate: Is There a Faster Way?
Some bloggers suggest adding baking soda to speed up caramelization. A tiny pinch does raise the pH and accelerate browning. I have tried it and it shaves off maybe ten minutes. The trade-off is a slightly mushy texture and a faintly metallic aftertaste if you use even a hair too much. For me it is not worth the risk.
Instant Pot caramelized onions are another popular shortcut. They work okay for soups and sauces where the onions get blended in. They lack the deep flavor you get from the stovetop method though. The texture is also softer and almost paste-like. If you genuinely want to know how to caramelize onions properly at home the stovetop and patience are still the winning combination. There is really no hack that replaces the real thing.
Frequently Asked Questions
Can I caramelize onions in the oven instead of the stovetop?
Yes and it is actually a great hands-off method. Toss sliced onions with butter on a sheet pan and roast at 400 degrees. Stir every fifteen minutes for about an hour. The results are slightly different from stovetop. They turn out a bit drier and more roasted than jammy. The flavor is still fantastic. I use this method when I am already baking something else.
How do I know when caramelized onions are actually done?
They should be deep golden brown to amber colored and significantly reduced in volume. They need to taste noticeably sweet with no raw or sharp bite. The texture should feel soft and almost melting. If they still taste like regular cooked onions rather than something sweet and rich, keep going. Most people pull them off the heat about ten minutes too early.
What’s the best fat to use for caramelizing onions?
A combination of butter and olive oil gives you the best results. Butter brings flavor while olive oil raises the smoke point slightly. You can also use ghee. It handles low heat beautifully and adds a nutty taste. Avoid using only extra virgin olive oil since it can develop bitter notes over long cooking times.
How do I caramelize onions properly at home without them burning?
Keep the heat genuinely low. Lower than you think it needs to be. Stir every three to five minutes and scrape the bottom of the pan. If dark spots form too quickly add a small splash of water to deglaze. A heavy-bottomed pan prevents hot spots. The biggest factor is simply resisting the urge to turn up the burner.
Can I make caramelized onions ahead of time for a party?
Yes. They reheat perfectly. Make them a day or two before and store them in the fridge. Gently warm them in a skillet with a tiny bit of butter before serving. They actually taste even better the next day as the flavors meld together. For bigger events I make a double batch and freeze half.
Conclusion
Caramelized onions are one of those rare kitchen skills where the technique is dead simple but the results feel like they came from a restaurant. You just need a good pan, decent onions, and the willingness to let time do the heavy lifting. What is your favorite way to use them once they are done?