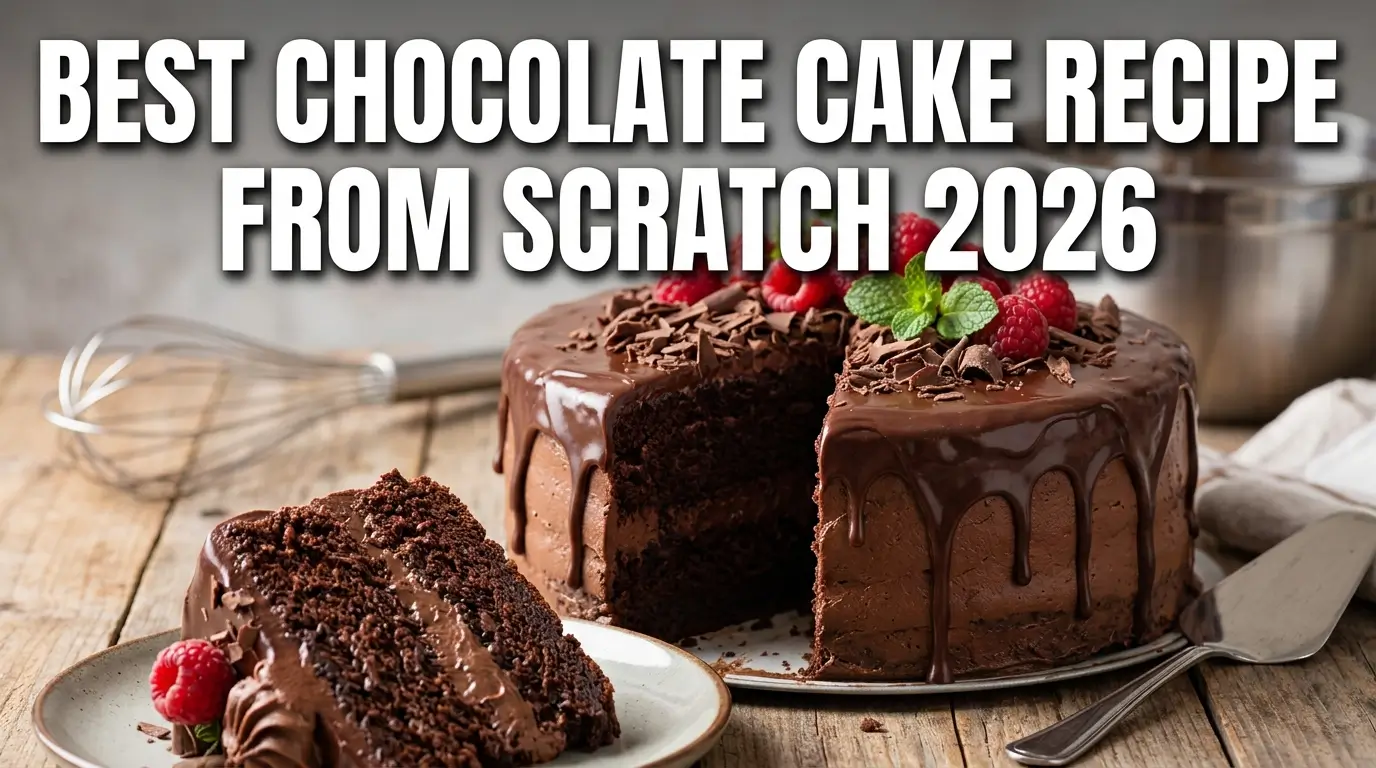
Best Chocolate Cake Recipe From Scratch
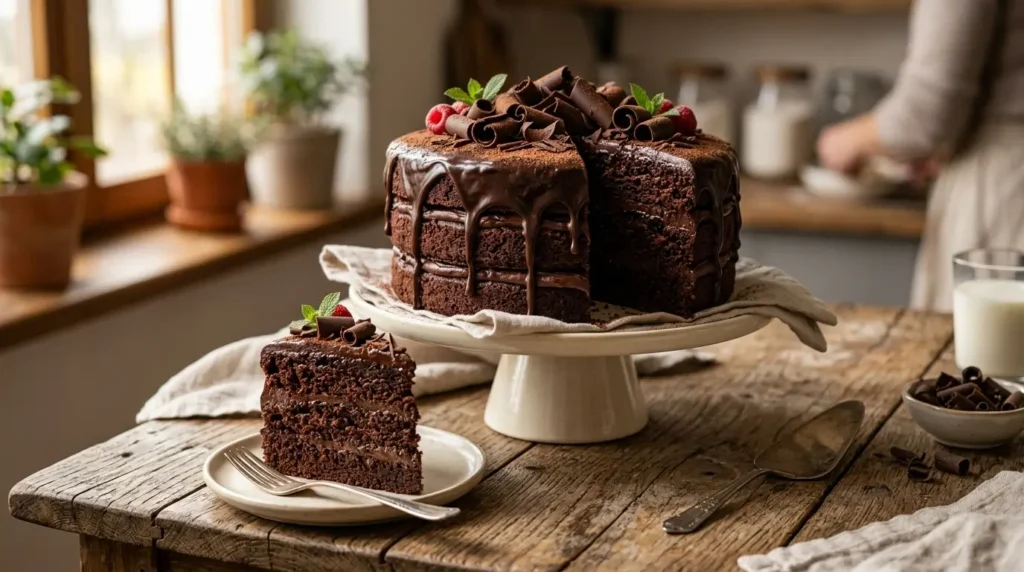
I burned through three sad, dry cakes before I got this one right. The first one sank in the middle. The second came out so dense my fork left a dent and stayed there. The third was fine, just forgettable, which honestly might be worse. By the fourth try I started writing down what I changed each time, and that notebook turned into this recipe.
If you’ve ever pulled a chocolate cake out of the oven and felt that small drop in your stomach when you see the crater in the middle, you know the feeling. This recipe fixes that. It’s not fancy. It’s just the version that actually works, made with ingredients you can find at a regular grocery store.
Why This Recipe Actually Works
Most chocolate cake recipes fail for one of three reasons: not enough fat that stays soft, cocoa that never gets to bloom properly, or batter that gets overmixed into a tight, rubbery mess. This recipe deals with all three.
The fat here is oil, not butter. Butter tastes great, but it firms up in the fridge, and that makes the crumb feel stiff the next day. Oil stays liquid at room temperature, so the cake stays soft on day one and day three.
The cocoa gets bloomed in hot coffee. Cold milk just doesn’t dissolve cocoa powder all the way. Hot liquid pulls more flavor out of it, and you genuinely cannot taste the coffee once it’s baked. I was skeptical about this the first time too.
And the batter stays loose. It looks too thin right before it goes in the oven. That’s correct. A thick batter usually means it got overmixed, and overmixed batter is how you end up with that dense, gummy texture nobody wants.
Also Read: Common Baking Mistakes Beginners Make 2026
What You’ll Need
Ingredients
| Ingredient | Amount |
|---|---|
| All-purpose flour | 2 cups |
| Dutch-process cocoa | 3/4 cup |
| Granulated sugar | 2 cups |
| Baking soda | 1 1/2 tsp |
| Baking powder | 1/2 tsp |
| Salt | 1 tsp |
| Buttermilk | 1 cup |
| Vegetable oil | 1/2 cup |
| Eggs | 2 large |
| Vanilla extract | 2 tsp |
| Hot coffee | 1 cup |
Tools
- Two 9-inch round cake pans
- Parchment paper
- Hand mixer or stand mixer (a whisk and some patience also work)
- Wire cooling rack
- Offset spatula
A stand mixer makes this easier, but I made this cake with a $15 hand mixer for two years before I upgraded. Don’t let equipment stop you.
Step-by-Step Instructions
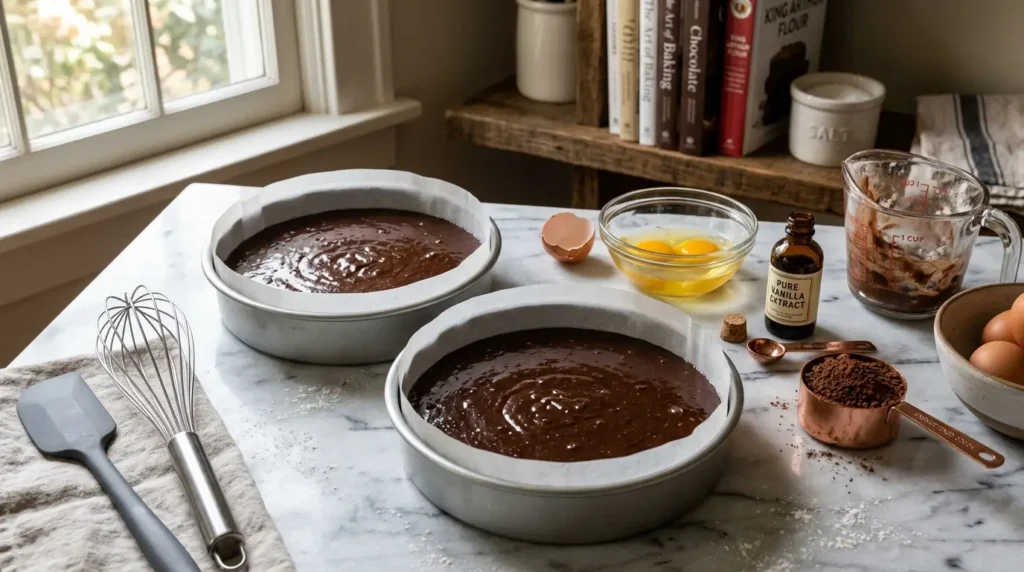
- Preheat the oven to 350°F (175°C). Grease two 9-inch pans, line the bottoms with parchment, and dust the sides with a little cocoa powder instead of flour, so you don’t get that chalky white film on the outside.
- Whisk the flour, cocoa, sugar, baking soda, baking powder, and salt together in a large bowl. Get it evenly mixed before adding anything wet.
- Add the eggs, buttermilk, oil, and vanilla. Beat on medium for about two minutes, until smooth.
- Pour in the hot coffee slowly while mixing on low. The batter turns thin and almost watery. That’s normal. Don’t panic and add more flour.
- Divide the batter evenly between the two pans. Bake for 30 to 35 minutes. Check at 28 minutes the first time you make this, since ovens vary more than people think.
- Pull the cakes when a toothpick comes out with a few moist crumbs, not wet batter and not totally clean either. Totally clean usually means you’re a couple minutes past ideal.
- Let the cakes sit in the pans for 10 minutes, then turn them out onto a wire rack. Let them cool all the way before frosting. I know waiting is the worst part. Do it anyway, or your frosting will slide right off.
A Quick Answer If You’re In a Hurry
The short version: mix dry ingredients, add wet ingredients including hot coffee, bake two 9-inch layers at 350°F for 30 to 35 minutes, cool completely, then frost. The hot coffee and oil are what make it moist, not a secret ingredient.
Why Is My Chocolate Cake Dry
This is the question I get asked most, so here’s the real breakdown of causes and fixes.
| Problem | Likely Cause | Fix |
|---|---|---|
| Dry, crumbly cake | Overbaking or too much flour | Check at 28 minutes; spoon flour into the cup, don’t scoop |
| Sunken middle | Underbaked or oven door opened too early | Bake until toothpick has moist crumbs, not wet batter |
| Dense, gummy texture | Overmixed batter | Mix only until just combined |
| Cake sticks to pan | Pan not lined properly | Always use parchment plus grease, not just one or the other |
| Uneven baking | Oven runs hot or cold | Use an oven thermometer; most home ovens are off by 15-25 degrees |
I used to scoop flour straight from the bag with the measuring cup, which packs in extra flour you don’t see. Switching to spoon-and-level fixed about half my dryness problems on its own.
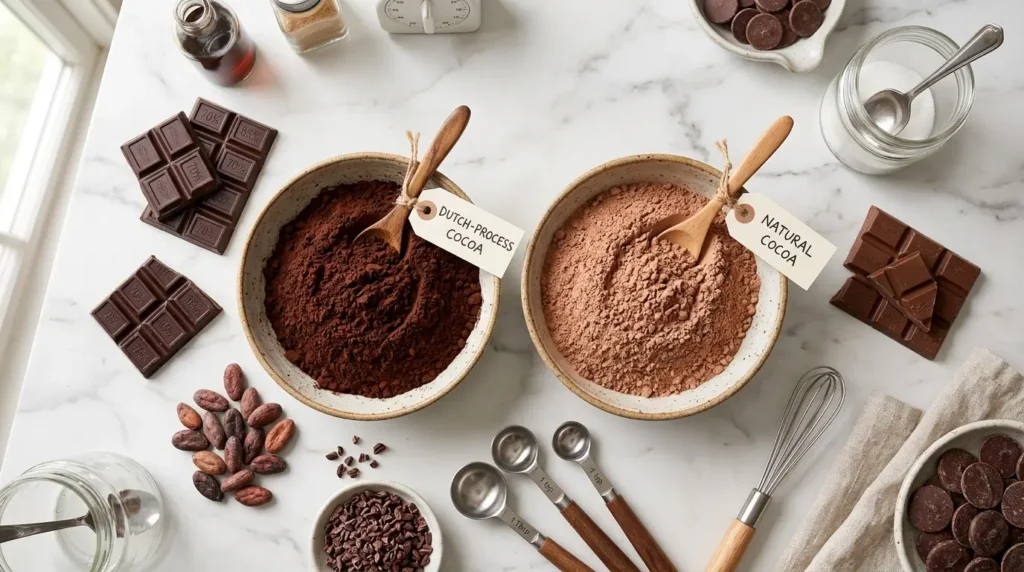
Dutch-Process Cocoa vs Natural Cocoa
People skip past this part, and then wonder why their cake came out flatter or more bitter than expected.
Dutch-process cocoa has been treated to remove acidity. It tastes smoother and darker, almost like a fudge brownie. Natural cocoa is more acidic and a little sharper, lighter in color too.
Here’s the part that actually matters for baking: natural cocoa reacts with baking soda to help the cake rise. Dutch-process cocoa is more neutral, so this recipe leans on a mix of baking soda and baking powder to cover both. If you swap to all-natural cocoa, you can usually keep the recipe as written. If you swap to all Dutch-process and drop the baking powder, you’ll get a flatter cake.
Oil vs Butter, Which Should You Use
I get asked this constantly, so here’s my honest take instead of a wishy-washy “it depends.”
Oil keeps the cake softer for longer, especially if you’re making it a day ahead. It has a more neutral flavor, which lets the chocolate take center stage.
Butter tastes richer and more “cakey” in that classic bakery way, but the texture firms up once it’s chilled, and it can dry out faster by day two or three.
My honest opinion: use oil if you’re making this for a busy week or storing it for a couple of days. Use butter if you’re serving it the same day and want that richer mouthfeel. I default to oil about 90% of the time because most of my baking happens the day before I need the cake, not the day of.
Substitutions If You’re Missing Something
No buttermilk in the fridge? No coffee in the house? It happens. Here’s what to do instead.
| Missing | Use Instead |
|---|---|
| Buttermilk | 1 cup milk plus 1 tbsp white vinegar, sit for 5 minutes |
| Hot coffee | Hot water (flavor will be slightly less deep, but fine) |
| Dutch-process cocoa | Natural cocoa, keep the recipe as written |
| Vegetable oil | Melted coconut oil or another neutral oil |
| Eggs (for eggless) | 1/4 cup unsweetened applesauce per egg |
I’ve made this eggless version for a friend with an egg allergy and it held together fine, just slightly less rich. Worth knowing if you’re baking for someone with dietary restrictions.
Baking at High Altitude
If you live above 3,000 feet, you’ve probably had cakes rise too fast and then collapse. This happens because lower air pressure lets gases expand faster, so the structure can’t keep up.
Quick adjustments that help:
- Reduce baking soda and powder by about 1/8 teaspoon for every teaspoon called for
- Increase the oven temperature by 15-25°F to help the structure set faster
- Add 2-3 tablespoons of extra flour to strengthen the crumb
- Reduce sugar slightly, since sugar weakens structure too
This is one of those things almost no recipe blog mentions, and it’s exactly the kind of detail that turns a “why didn’t this work” comment section into a happy one.
Gluten-Free Version
You can swap the all-purpose flour for a 1:1 gluten-free baking blend (the kind with xanthan gum already mixed in) at the same amount, 2 cups. I’ve tested this with Bob’s Red Mill 1:1 blend specifically, and the texture comes out close to the original, just a touch more delicate when slicing. Let it cool completely before cutting, more so than the regular version, or it can crumble.
Frosting Options and How to Choose
| Frosting | Best For |
|---|---|
| Chocolate buttercream | Classic sweetness, easiest to pipe |
| Ganache | Glossy finish, less sweet, richer |
| Cream cheese frosting | Tangy contrast, pairs well with Dutch-process cocoa |
| Swiss meringue buttercream | Silky texture, less sweet than American buttercream |
My personal favorite is ganache when I’m short on time, since it’s just chocolate and warm cream stirred together, no mixer needed. If I’m making this for a kid’s birthday, I go with classic buttercream because it pipes better and holds shape in warmer rooms.
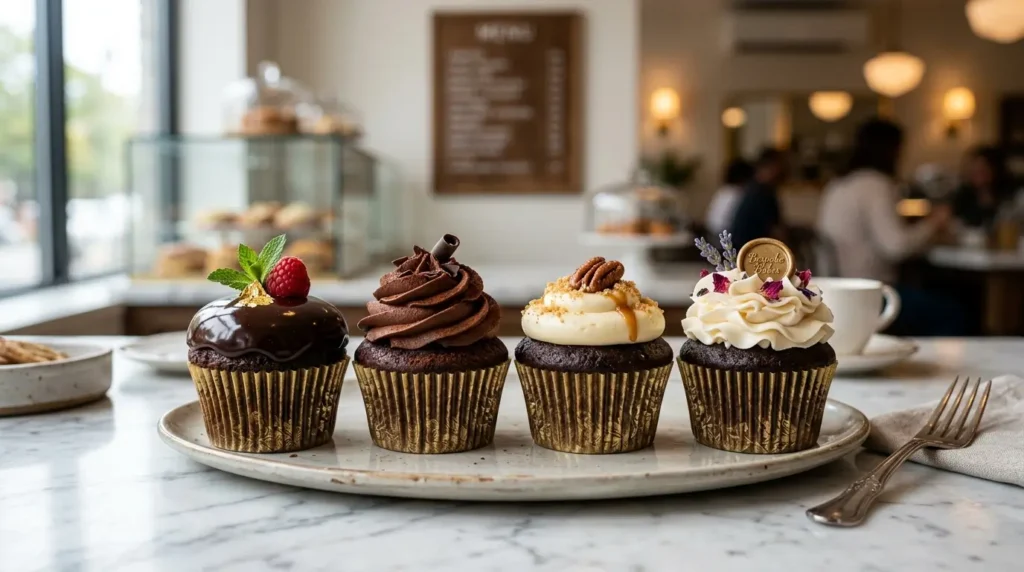
Converting to Cupcakes or a Sheet Pan
This batter works for more than just round layers.
- Cupcakes: Same batter, fill liners about two-thirds full, bake 18-20 minutes. Makes around 24.
- 9×13 sheet pan: Pour all the batter into one greased pan, bake 35-40 minutes, check at 33.
- Two 8-inch rounds: Slightly thicker layers, add 3-5 minutes to bake time.
Storage and Make-Ahead Tips
| Storage | How Long |
|---|---|
| Room temperature, covered | 2-3 days |
| Refrigerated | Up to 1 week |
| Frozen, unfrosted layers | Up to 3 months |
I almost always bake the layers a day ahead, wrap them in plastic while still slightly warm-cool (not hot, not fridge-cold), and frost the next day. The cake actually slices cleaner once it’s had a full day to settle.
Nutritional Estimate
Per slice, based on a 12-slice cake with buttercream frosting: roughly 420-460 calories, 22g fat, 56g carbohydrates, 5g protein. This will shift depending on your frosting choice and slice size, so treat it as a ballpark, not a label.
Mistakes I Made So You Don’t Have To
- I used cold eggs straight from the fridge for the first year and wondered why my batter looked slightly curdled. Room temperature eggs blend in smoother.
- I opened the oven door at 20 minutes to check progress and watched the middle sink in real time. Wait until at least 28 minutes before peeking.
- I frosted a cake that was “mostly cool” once, and the frosting turned into a melted puddle running down the sides. Fully cool means fully cool, not warm to the touch.
FAQs
Why is my chocolate cake dense instead of fluffy? This is almost always overmixing. Once the flour is added, mix only until you stop seeing streaks of dry ingredients. Mixing for an extra minute “just to be safe” is the most common cause of a dense cake.
Can I make this cake without coffee? Yes. Swap the hot coffee for an equal amount of hot water. You lose a small amount of flavor depth, but the texture stays the same.
What’s the best cocoa powder for chocolate cake? Dutch-process cocoa gives the deepest, smoothest flavor. Natural cocoa works fine too and is often easier to find. The recipe is written to work with either.
How do I know when my chocolate cake is done baking? A toothpick inserted in the center should come out with a few moist crumbs clinging to it. Wet batter means it needs more time. A completely clean toothpick usually means you’ve gone slightly past the ideal point.
Can I use butter instead of oil in this recipe? Yes, in equal amounts. The flavor gets richer, but the cake firms up more once chilled and dries out a bit faster after day two.
Why did my cake sink in the middle? Underbaking is the most common reason, usually from opening the oven door too early. Oven temperature being off is the second most common cause. An oven thermometer solves this fast.
Can I make this gluten-free? Yes, swap in a 1:1 gluten-free baking blend at the same measurement. The texture is slightly more delicate, so let it cool fully before slicing.
How long does this cake stay fresh? About 2-3 days at room temperature when covered, up to a week in the fridge, and up to 3 months frozen if the layers are unfrosted.
Can I turn this into cupcakes? Yes, same batter, fill liners two-thirds full, bake for 18-20 minutes instead of 30-35.
Leave a Reply