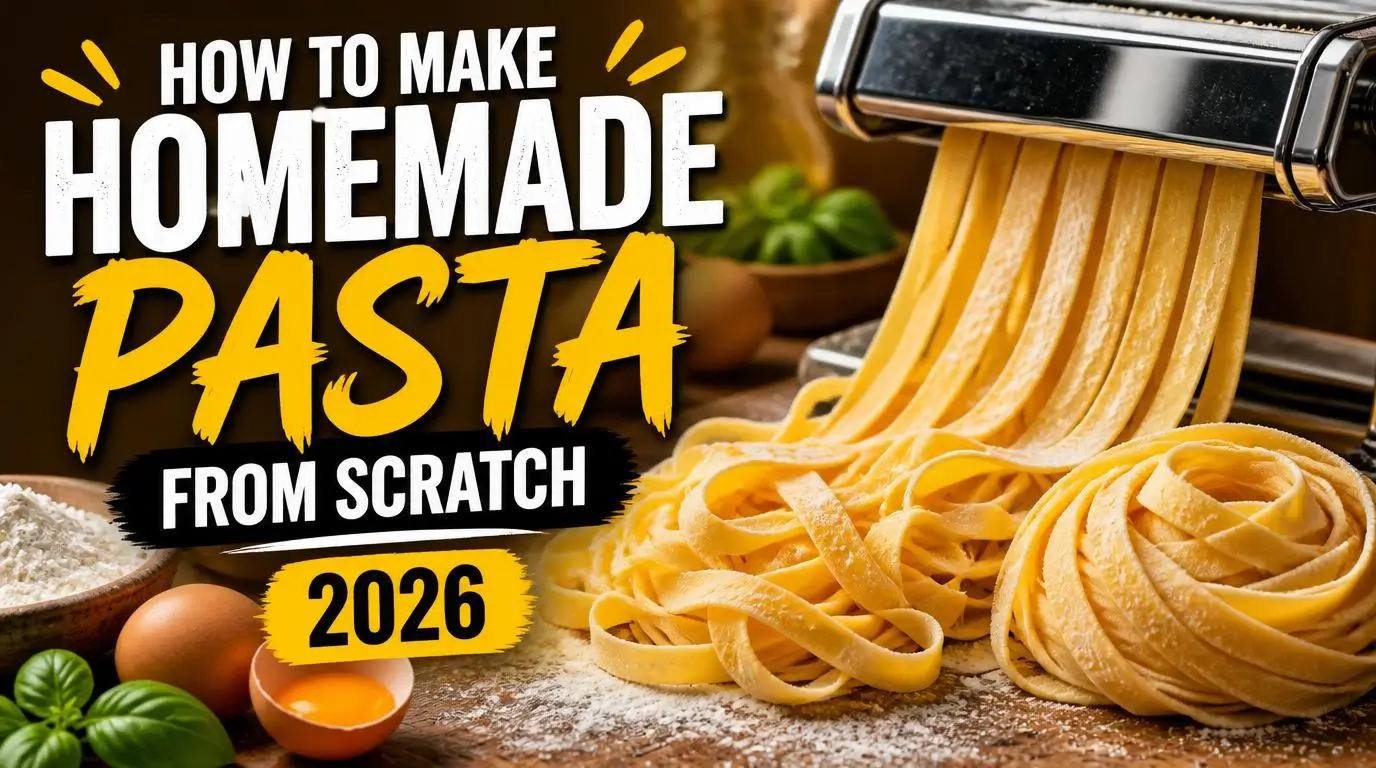
Learning how to make homemade pasta from scratch changed the way I eat forever. I’m not being dramatic about that either. The first time I bit into a forkful of silky, tender fettuccine that I’d rolled out on my own kitchen counter, I genuinely wondered why I’d spent 25 years buying the dried stuff. The ingredients are cheap and the process is honestly therapeutic. Nothing in a box comes close to how it tastes.
What You Need Before You Start
Forget fancy equipment for now. You need four ingredients: all-purpose flour (or “00” flour if you can find it), eggs, olive oil, and salt. That’s the whole list. I started with King Arthur all-purpose flour and large eggs from Costco, and it worked beautifully.
For tools, grab a clean countertop or large cutting board, a fork, a rolling pin, and a sharp knife. A bench scraper helps too, but a butter knife works in a pinch. If you own a KitchenAid stand mixer with the pasta roller attachment, great. You absolutely don’t need one though. I made pasta by hand for two full years before I ever touched a machine.
One thing I will say: weigh your flour if you can. A cheap kitchen scale (I use the OXO Good Grips one) makes a huge difference in consistency. Cups of flour vary wildly depending on how you scoop, and pasta dough is all about getting the right ratio.
Building the Dough
This part intimidates people, but it shouldn’t. The classic ratio is one large egg per 100 grams of flour. For two generous servings, use 200 grams of flour and two eggs. Add a tiny drizzle of olive oil and a pinch of salt to the eggs.
Pile your flour on the counter and make a well in the center, like a little volcano. Crack the eggs into the well. Use a fork to beat the eggs gently, then start pulling flour in from the inner walls a little at a time. Go slow here. If you rush and the egg breaks through the flour wall, you’ll have raw egg running across your counter and possibly onto the floor. Ask me how I know.
Once it gets too thick for the fork, switch to your hands. Bring the dough together and start kneading. It will look shaggy and rough at first. That’s completely normal and not a sign that you’ve messed up.
Kneading Until It Feels Right
Here’s where the magic happens. Knead your dough for about 8 to 10 minutes. Push it away from you with the heel of your palm, fold it back over itself, rotate a quarter turn, and repeat. You’re developing gluten, which gives the pasta its stretch and chew.
You’ll feel the dough change under your hands. It starts out rough and sticky. After a few minutes it becomes noticeably smoother. By the time you’re done, it should feel like a firm earlobe. Weird comparison, I know, but it’s the most accurate one I’ve found. The surface should be smooth, not tacky, and the dough should spring back slightly when you poke it.
If it feels too dry, wet your hands and keep kneading. When it’s too sticky, dust in a tiny bit of flour. Small adjustments only. Overcorrecting is the most common beginner mistake I see.
Resting the Dough (Don’t Skip This)
Wrap your dough ball tightly in plastic wrap and let it rest at room temperature for 30 minutes. I know it’s tempting to skip ahead. Don’t.
Resting lets the gluten relax, which makes the dough way easier to roll out. Try to roll it immediately and it’ll fight you. The dough keeps shrinking back every time you try to stretch it, and the final pasta will turn out tough. I skipped this step exactly once, and the resulting fettuccine had the texture of a rubber band.
Set a timer. Clean up your counter. Pour yourself a glass of wine and wait.
How to Make Homemade Pasta From Scratch: Rolling It Out
After resting, cut the dough in half so it’s easier to manage. Keep the piece you’re not using covered so it doesn’t dry out.
If you’re rolling by hand, flour your surface generously and start from the center, rolling outward in every direction. Rotate the dough frequently. You want it thin enough to see the shadow of your hand through it, roughly 1 to 2 millimeters thick. This takes patience and some arm strength. Put on a podcast.
Using a pasta machine? I eventually bought the Marcato Atlas 150 and I love it. Start on the widest setting. Feed the dough through, fold it in thirds like a letter, and feed it through again. Do this three or four times on the widest setting. Then start stepping down one setting at a time until you reach your desired thickness. For fettuccine, I usually stop at setting 5 or 6. For stuffed pasta like ravioli, go thinner and use setting 6 or 7.
Don’t rush through the settings. Each pass smooths the dough further and creates those beautiful, silky sheets.
Cutting Your Pasta Shapes
Once your sheets are rolled out, let them dry on your counter for about five minutes. Not so long that they crack. Just long enough that they’re not sticky.
For fettuccine or tagliatelle, lightly flour the sheet, fold it loosely into thirds, and slice across it with a sharp knife. I aim for strips about a quarter inch wide. Shake the cut noodles loose, toss them with a little flour or semolina so they don’t stick together, and pile them into little nests.
For pappardelle, cut wider strips roughly an inch across. For maltagliati (which literally means “badly cut”), just slice irregular shapes. That one’s my favorite because it’s impossible to mess up.
If your pasta machine has cutting attachments, feed the sheets through. It’s faster and the noodles come out perfectly even. But hand-cut pasta has a rustic charm that I actually prefer.
Cooking Fresh Pasta
This part surprises most people: fresh pasta cooks fast. We’re talking 2 to 4 minutes in a big pot of salted, boiling water. Not 10 minutes like dried pasta. Set a timer because overcooked fresh pasta turns to mush in a hurry.
Salt your water aggressively. I use about a tablespoon of kosher salt per quart of water. It should taste like the ocean. This is your only chance to season the pasta itself, so don’t be shy.
Pull one noodle out and taste it before draining. You want it tender but with a tiny bit of resistance. Save a cup of the starchy cooking water before you drain, then toss the pasta directly into whatever sauce you’re serving it with. That starchy water is liquid gold for getting sauces to cling to every strand.
Simple Sauces That Let Fresh Pasta Shine
You didn’t just spend an hour making pasta from scratch to drown it in jarred marinara. Fresh pasta deserves something simple that shows off its texture.
My go-to is cacio e pepe: butter, freshly cracked black pepper, Pecorino Romano, and pasta water. It takes five minutes and tastes like something from a Roman trattoria. Brown butter with sage is another winner. Just melt butter until it turns golden and smells nutty, toss in some fresh sage leaves, and pour it over the noodles.
A basic aglio e olio with garlic, olive oil, and red pepper flakes also works beautifully. The point is simplicity. You already did the hard part.
Storing and Freezing Tips
Fresh pasta is best eaten the day you make it, but life happens. If you’re cooking it within a few hours, leave the nests on a floured sheet pan at room temperature. For overnight storage, spread the nests on a parchment-lined baking sheet, cover loosely, and stick them in the fridge.
For longer storage, freeze it. Lay the nests on a baking sheet in a single layer and freeze until solid, about two hours. Then transfer them to a zip-top freezer bag. They’ll keep for up to two months. Cook frozen pasta straight from the freezer and just add an extra minute to the cooking time.
I usually make a double batch on Sunday afternoons and freeze half. It’s a weeknight dinner shortcut that feels way more impressive than it actually is.
Common Mistakes (I’ve Made Them All)
Your first batch probably won’t be perfect, and that’s fine. Here are the mistakes I made early on so you can skip them.
Using too much flour during kneading makes the dough tough and dry. A light dusting is all you need. Rolling the dough too thick gives you gummy, chewy pasta that doesn’t cook evenly. Go thinner than you think. Not salting the water enough produces bland noodles that no amount of sauce can save. Cooking fresh pasta for the same amount of time as dried pasta creates a sad, mushy pile.
The biggest one? Getting discouraged. My first attempt looked like a kindergarten art project. By my fifth batch, I had it down cold. Practice genuinely makes a difference here.
Frequently Asked Questions
Can I make pasta without eggs?
You can. Combine two cups of semolina flour with about three-quarters cup of warm water and a pinch of salt. The dough is firmer and takes longer to knead, but it works great for shapes like orecchiette and cavatelli. The texture is chewier than egg pasta, almost like a good dried pasta but fresher.
Do I need a pasta machine to make homemade pasta from scratch?
Not at all. A rolling pin and a sharp knife are plenty. It takes more time and effort, but the results are just as good. I made pasta by hand for years before buying a machine, and honestly, I still prefer hand-rolling when I’m making a small batch for two people.
How thin should I roll the pasta dough?
For long noodles like fettuccine or tagliatelle, aim for about 1 to 2 millimeters thick. You should almost be able to see your hand through the sheet. For stuffed pastas like ravioli, go even thinner so the edges seal properly and don’t end up too chewy after cooking.
Why is my pasta dough too sticky or too dry?
Humidity, egg size, and how you measured the flour all play a role in hydration. If it’s sticky, sprinkle in flour one teaspoon at a time while kneading. When it’s dry and crumbly, wet your hands slightly and keep working it. Small adjustments are key. Don’t dump in a bunch of flour or water all at once.
Can I use whole wheat flour for fresh pasta?
You can, but I’d recommend starting with a 50/50 blend of whole wheat and all-purpose flour. Pure whole wheat pasta can be dense and a bit gritty. The blend gives you some of that nutty, wheaty flavor while keeping the texture pleasant. Add a touch more olive oil to the dough for softness.
Conclusion
Making fresh pasta is one of those skills that sounds impressive but is genuinely simple once you do it a couple of times. The ingredients cost almost nothing, the process gets faster with practice, and the results blow anything store-bought out of the water. So what shape are you going to try first?